

How to Plan an Outdoor Kitchen Island
A good outdoor kitchen feels obvious once it is built. The grill is where the smoke drifts away from the table, there is counter space exactly where you set down the platter, and the fridge door opens without hitting anyone's chair. That comes from a few decisions made in the right order. Here is the order we walk homeowners through.

Start with how you cook
Before you look at sizes or finishes, answer three questions:
- How many people do you usually cook for? A weeknight for four is a different kitchen from a monthly party for twenty.
- What do you cook? Grilling only, or grill plus griddle, side burner, smoker or pizza oven?
- What do you want outside, so you are not running back into the house? Cold drinks, trash, tools, plates, a place for guests to sit.
Your answers decide the appliance list. The appliance list decides the length.
Choose the spot
Walk the yard with a tape measure and look for a place that works on four counts:
- Close enough to the house that carrying food out is easy, but far enough that smoke does not drift into open doors or windows.
- Wind. Notice which way it usually blows in the evening, and keep the grill downwind of where people sit.
- A firm, level surface. A patio slab or pavers are the usual choice. If you are planning on a deck, check its load rating with your builder first.
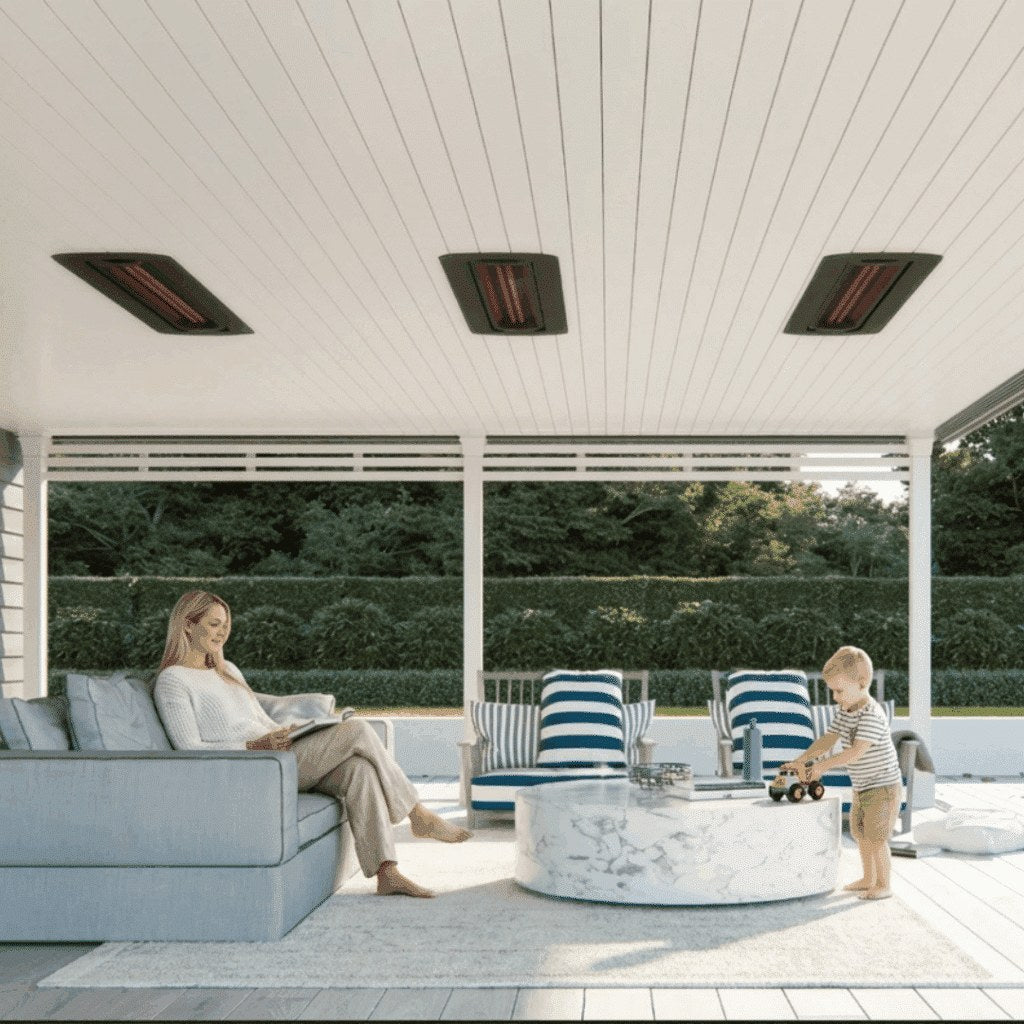
- Overhead. Under a pergola or a roof, follow the grill manufacturer's overhead and side clearances, and ask whether a vent hood is needed. Every grill's manual lists its own numbers.
Mark the footprint on the ground with tape or chalk, including the space you need to stand and open doors. Leave it there for a day and walk around it.
Pick the length
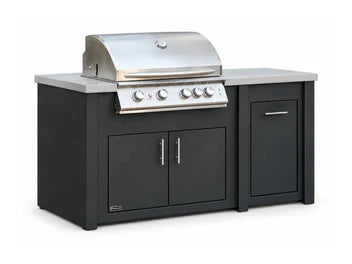
Length is where most plans go wrong. Islands get crowded fast once the grill, a refrigerator and the storage all need a place. Our Due West aluminum islands come in four base lengths, all 30" deep and 36.5" high:
| Base length | Example configuration | Good for |
|---|---|---|
| 77" Beacon | Grill + one bay (fridge or storage) | Smaller patios, grill-first cooks |
| 98" Compass | Grill + fridge + storage | Most family patios |
| 119" Overland | Grill + fridge + drawers + storage | Regular entertaining, more prep space |
| 140" Frontier | Grill, griddle, fridge, storage and seating | Large gatherings, cooking and seating together |
These are the base dimensions. Appliance clearances and optional extensions add to the overall size, so leave room around the island to move, open cabinet doors and pull out drawers.
Lay out the zones
Think of the island as four zones, in the order food moves:
- Cold: refrigerator and drinks, at the end nearest the house or seating, so guests can help themselves without walking through the cooking area.
- Prep: clear counter space next to the grill for raw food, trays and tools.
- Hot: the grill (and griddle or side burner), with landing space on at least one side for finished food.
- Serve: the counter end or bar side facing the seating.
Drawers for tools and a trash pull-out belong near prep. Tall items and the grill lid need open sky or enough overhead clearance.
Choose the grill before the island
The grill drives the cutout, the clearances and the gas connection, so pick it first. Write down:
- the exact make and model;
- the cutout dimensions from the manufacturer's installation manual;
- whether the manual calls for an insulated jacket or specific ventilation when the grill is built in.
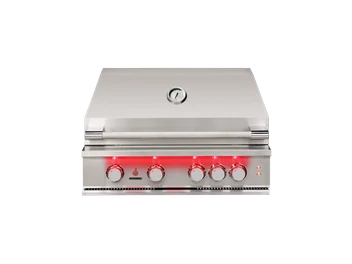
Our island layouts start from common built-in grill widths (30", 32", 36", 40" and 42"), and our team confirms your grill's opening and clearances before production. If you already own a grill, have its model number ready. Browse built-in grills.
Plan gas, power and the base
Sort these out with your contractor before installation day:
- Gas. Natural gas means a line run to the island location; propane means a tank and a place for it. Either way, a qualified professional should make the gas connection.
- Power. Refrigerators, lights and rotisseries need outdoor-rated outlets. Have a licensed electrician plan them.
- Base. The island is made of finished sections that are fastened and leveled on site, so the surface under it needs to be solid and close to level.
Plan the path to the patio
Measure the route from the street to the final spot: gates, side passages, steps and turns, and arrange help to move the sections into position. The manufacturer's installation film shows unpacking, placing, fastening and leveling the sections step by step. You can watch it on our outdoor kitchen islands page.
Your planning checklist
- Guest count and appliance list written down
- Spot chosen: wind, smoke, overhead, level surface
- Footprint marked, including standing and door space
- Base length chosen (77", 98", 119" or 140")
- Grill make/model and cutout from the manual
- Gas type and line or tank location planned with a pro
- Outlets planned with an electrician
- Route from the street to the patio measured
Ready to design yours?
Build your island in our 3D configurator: compare the four sizes and choose finishes, equipment and storage. When you are ready, have your measurements, appliance model numbers and a photo of the space ready for a design conversation.
Design your outdoor kitchen island · Built-in grills · BBQ accessories · Call (949) 619-7824